As a prepper, mastering the art of home cooking and canning is an essential skill. It’s not just a budget-friendly and healthy way to care for your loved ones, but it also guarantees a dependable food source in times of crisis. This comprehensive guide will provide you with a checklist of necessary supplies and crucial safety measures to ensure successful home canning.
With Regular Lids and Bands, Ideal for Jam, Honey, Wedding Favors, Shower Favors, DIY Spice Jars, 24 PACK, 30 Labels Included
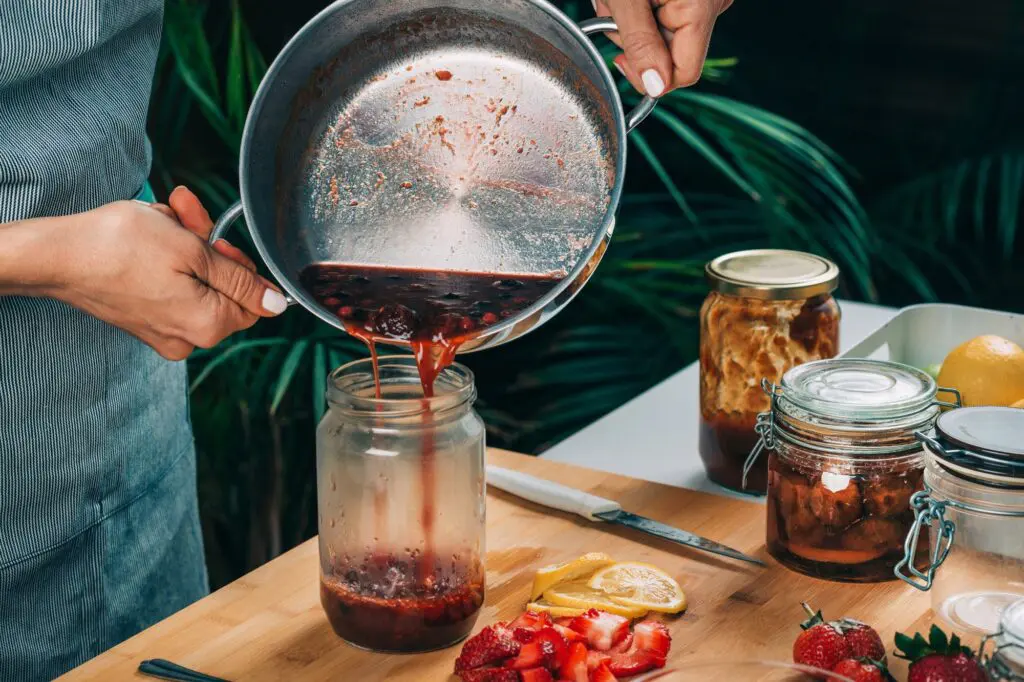
Firstly, you’ll need to procure a sufficient number of canning jars to accommodate the food you intend to preserve. The quantity can be determined by referring to your chosen recipe, which typically indicates the yield. Ensure you obtain jars specifically designed for home canning.
Once you have your jars, it is vital to wash them thoroughly, along with their lids and bands, to eliminate any bacteria and ensure sterilization. This process is akin to hand washing dishes.
The next item on the checklist is utensils. Essential items include spoons and a spatula. Similar to the jars, these utensils should be sterilized before use. Additionally, a sturdy stockpot is a must-have for the canning process.
Optional, yet helpful items include a funnel, labels, and a canning jar holder. If you’re preserving fruits or making jellies, pectin might be a useful addition, although its use is subjective and varies according to personal preference.

Once the water in the stockpot has reached a simmer, fill the jars to the level specified in the recipe. It is important to avoid filling warm food into cool jars as the temperature difference can cause the jars to break. Ensure the jars are at least at room temperature.
Canning Pot with Rack and full Set + ½ Pint ladle Measuring Cups - Supplies Kit for Beginner, Food Grade Stainless Steel Accessories Starter
To eliminate air bubbles, refrain from stirring. Instead, run a flat utensil along the inside of the jar. Following this, secure the lid toppers and rings, then place the jars in the jar lifter. If a jar lifter is not available, tongs can be used as a substitute, although they may increase the risk of the jar slipping.
Using the jar lifter, carefully lower the jars into the stockpot, ensuring they are fully submerged in water. Allow the water to boil for the duration specified in the recipe. Note that the timing should commence only once the water has started boiling.
After the jars have cooled, it’s advisable to label them with dates. This practice aids in rotating the canned foods during storage, ensuring optimal freshness and quality.
Remember, warrior, the key to successful home canning lies in meticulous preparation and adherence to safety guidelines. Stay vigilant, stay prepared, and stay nourished. Over and out.


